
“Hand” Planing the Slab
As you can see I put quotation marks around the “hand” in the title, this is because I used an electronic hand planer, not an original hand planer which would take much longer than the method I used. Unfortunately the slab I have is too big to run through the thickness planer at my brothers shop, that would be the easiest method, however, that is out of the question. Before I do anything I want to get rid of the band saw marks that have carved up the slab (First Image), the band saw marks are quite deep and obviously make it hard to create a flat surface. This process took a few hours to really make sure all the marks are removed.
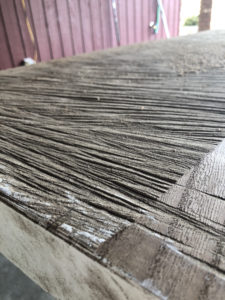
The Saw Marks on the Left and the First Pass with the Hand Planer on the Right
This is a Quick Video of Myself Planing the Slab
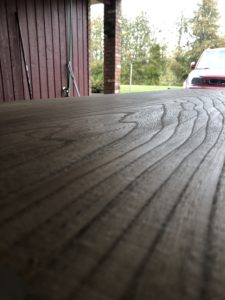
The Surface of the Slab After Being Planed
Now that the slab is relatively smooth I can begin to create a level surface on both sides of the slab. In order to make a level table I need to start with a perfectly flat table-top. I have given this quite a bit of thought as to how I can do this, I am thinking that I may have to create a stand that I can place the slab on. The stand will include rails on either side of the slab, these rails will act as glides for the jig I will build to run a router over the slab to really ensure the slab is flat. This is just a possible solution I may have to use if I cannot think of anything else. Here is a picture of a similar setup that I would have to build:

Router Sled Example. Taken from: https://www.infinitytools.com/blog/2016/06/22/how-to-flatten-a-slab/
Leave a Reply
You must be logged in to post a comment.