Tools Used
For this step of the project I used an industrial thickness sander (at my brother’s shop) and an orbital sander. An industrial thickness sander is a machine that has a track that carries the piece of wood through the machine. Above the track there is a sanding belt, this machine allows me to sand more material off of the slab than an orbital sander would. After using the thickness sander we used the orbital sander with a finer grit of sand paper to make the slab smooth, the finer the grit of sand paper the smoother the slab becomes. In the thickness sander we used a grit of 60 and then 80, we then switched the belt out for 120, the numbers refer to the size of the abrasive materials on the sand paper. After we were done using the thickness sander we used the orbital sander to finish it up a little and make it a bit smoother with 150 grit. This process made the wood smooth enough to mark where I will be drilling the holes for the cribbage board.
The Slab Running Through the Thickness Sander
My Little Brother Sanding the Slab
Drafting the Cribbage Board
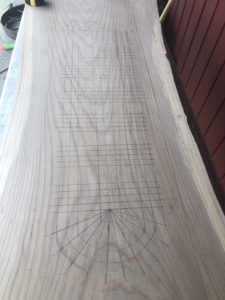
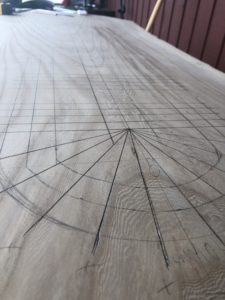
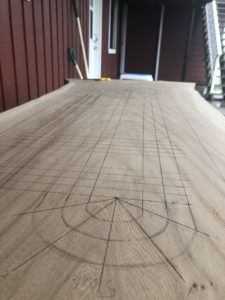
With the slab smoothed enough to draw on the face I marked out the cribbage board area and where I will be drilling the pegging holes. Because of how large the cribbage board is going to be I could not find a stencil online to simply trace, because of this I had to mark out the playing area myself. I used a left over piece of a baseboard as a straight edge to mark the three rows that are on a cribbage board. I made the length of the lines so that between each pegging point is 3/4 of an inch and every five pegging points there is a larger space to make counting easier for the player, I made that gap 2 1/2 inches long. This was somewhat easy, the difficult part was drawing the turns on the crib board. I had to free hand these, I am hoping when I do drill the holes it looks okay. Next week I will be drilling the holes, cutting the ends of the slab and finishing sanding.

The Whole Playing Area Marked

The First Corner of the Cribbage Board

The Second Corner of the Playing Area

Leave a Reply
You must be logged in to post a comment.